Deploying a CUSTOM NAR (NiFi Archive Repository) to the DC/OS NiFi
Apache NiFi is a power WYSWIG integration framework which supports powerful and scalable directed graphs of data routing, transformation, and system mediation logic. While NiFi ships with many highly powerful processors to complete most data flows required, sometimes you just need to implement a custom processor to improve data transformation efficiency, support real time analytics to name just two common areas where customization is required.
The remainder of this document describes the steps to setup a NiFi cluster with a customized NAR file.
Requirements
- DC/OS cluster with at least 1 public node and Marathon-lb installed (other load balancers will work, but for this write-up, Marathon-lb will be used)
- A custom built and validate NAR file
- A familiarity with Docker build steps
Step 1: Rebuild the Docker File to include the NAR file
Use the Dockerfile ADD command to copy your custom NAR file from your local directory to the /opt/nifi/lib. An example of a sample Dockerfile is shown below:
FROM mderela/apache-nifi:1.3.0

ADD MyCustom.nar /opt/nifi/lib/MyCustom.nar
It is probably a good idea before you progress to the next step to quickly run the docker image and confirm that MyCustom.nar is present within the /opt/nifi/lib directory. In the Dockerfile example shown above for instance we are uploading the MyCustom.nar file into the standard nifi lib directory so any node created with this Dockerfile will have access to custom developed processor. This represents one of the big advantages to deploying NiFi over DC/OS instead of manually copying NAR files to each node within the cluster, just define it once to a Docker image and then let DC/OS handle the replication.
Also, Make certain when you build the docker image file that the resulting image is also pushed up to Docker Image repository accessible by DC/OS
Step 2: Modify the NiFi Framework properties on install on DC/OS
Now it is time to install our NiFi framework instance in the cluster and use our recently created custom Docker image with your NAR file uploaded. To begin the process select 'Catalog' from the left hand menu and then specify 'nifi' in the search dialog which should provide the current catalog entry for NiFi. Click on the NiFi item to begin the installation process.

After clicking on the nifi catalog item you will see as shown below a brief description of the framework entry. Click on 'Review & Run' in the upper right hand corner of the screen.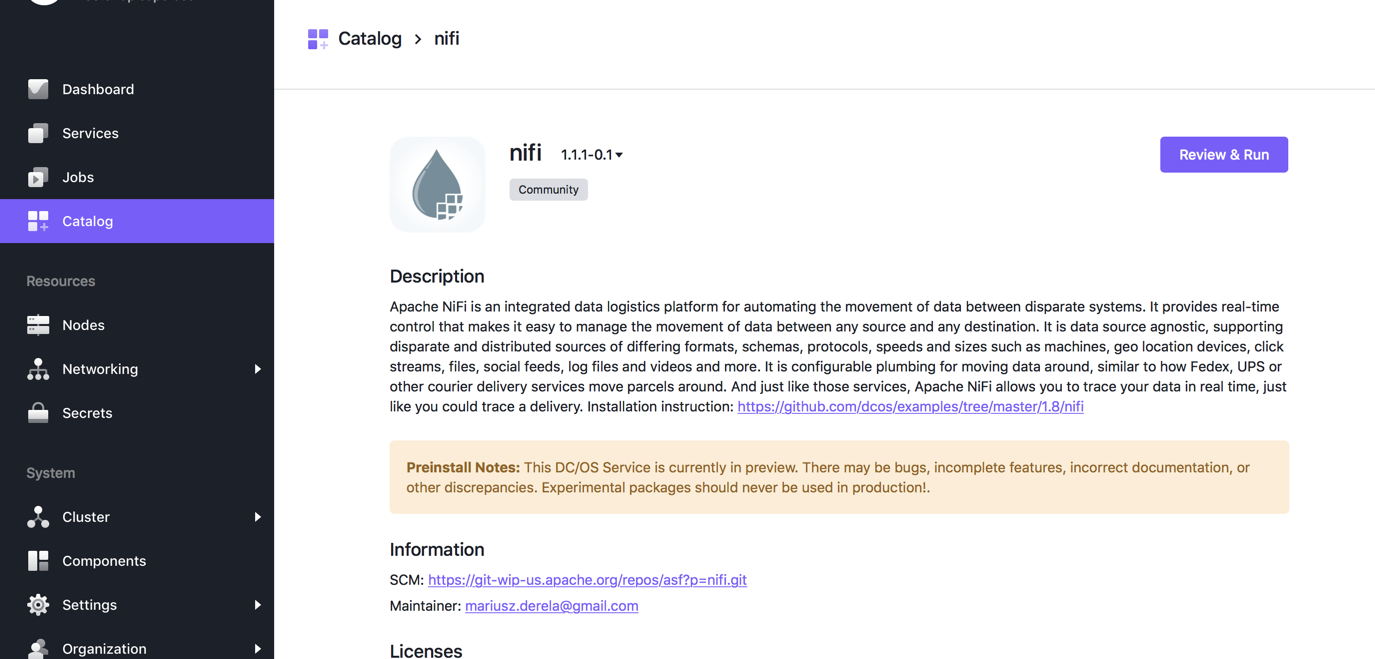
Now you will want to set some of the properties to properly install NiFi on your cluster. In most instances it is fine to leave the default Service name of 'nifi', but if you have multiple NiFi instances, then it is necessary to change the 'name' field on the screen below. In addition, to support clustering, which you will want to do, set the 'instances' count to at least 3. 
Now, click on the 'Nifi' option in the left hand menu and then enable the 'cluster' option as shown at the bottom of the screen capture below.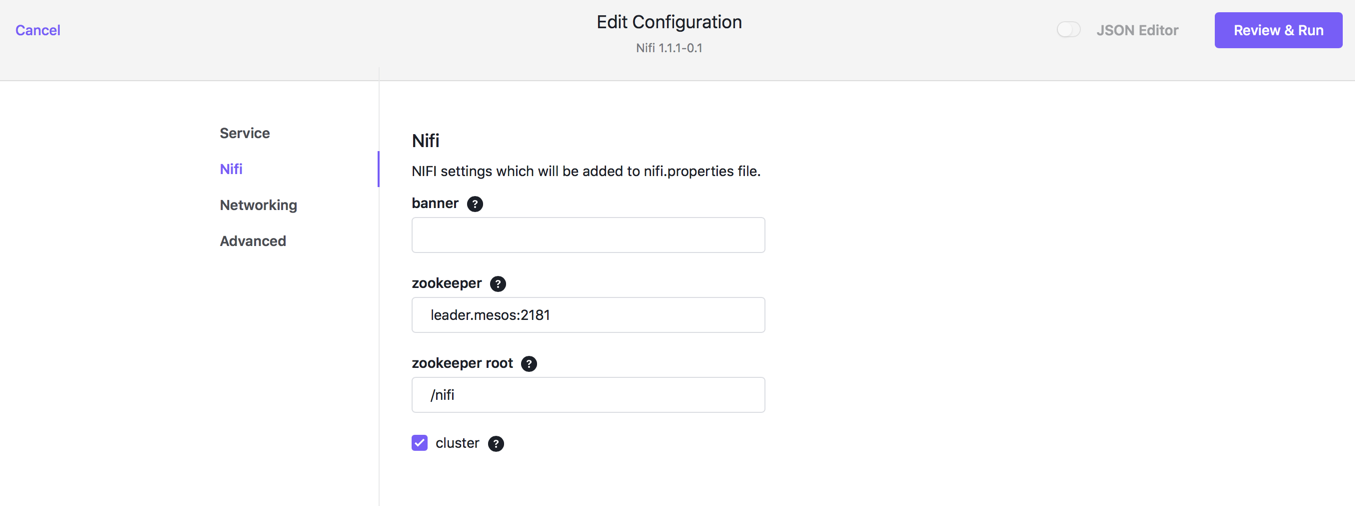
For now we will access the advanced NiFI options where we will replace the stock 'docker image' with our custom NiFi docker image which we built as part of Step 1.
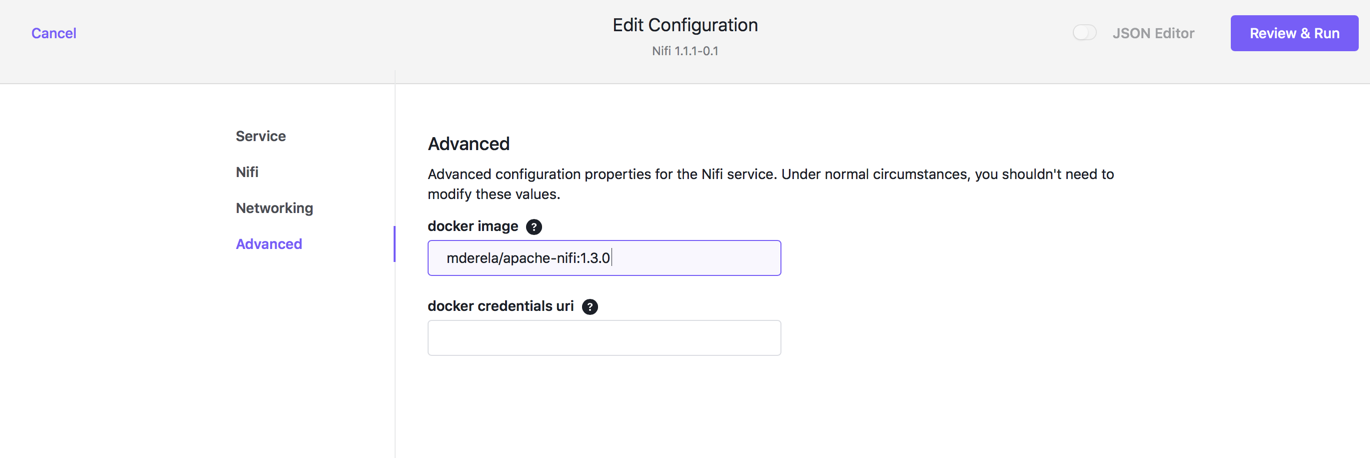
Once all the properties are set to your liking, click on Review and Run at the top of the screen and then click RUN SERVICE again to run and create a NiFi instance.
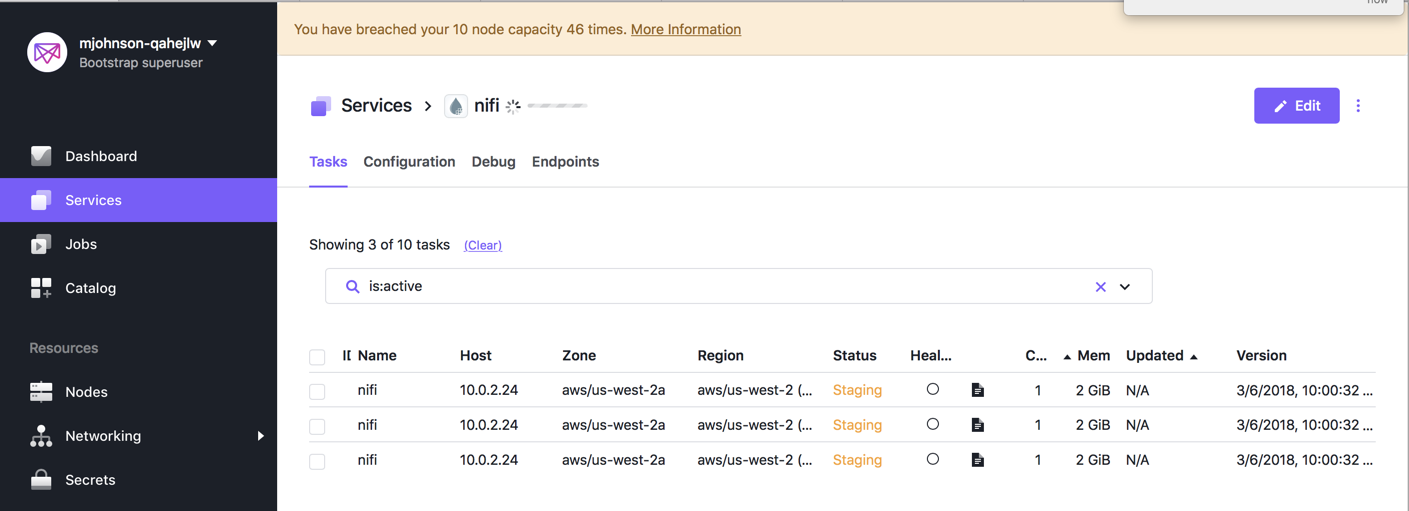
Once the health check completes for all 3 nodes then your new NiFi instance is ready for work. Keep in mind if you wish to increase the number of NiFi nodes within this cluster, just go back to the part of this step where we specified the number of NiFi instances to deploy.
Step 3: Validate the NiFi NAR file has been deployed
Our first validation step is to go to haproxy status screen. To do this open the url:
http://{public node ip address}:9090/haproxy?stats
Scan down the list of end points until you find NiFi 10101 and confirm that it is there XXX
 After each of the NiFi nodes are up, running and healthy NiFi still has one remaining task to complete; it needs to elect a primary node for the cluster.
To access the nifi cluster, you will open the following URL in your browser http://{public node id}:{nifi port}. So based on the information supplied in the above haproxy screen capture. So assuming that the public ip covered by our marathon-lb load balancer is http://54.186.191.139 and as we see the first of the ports in the haproxy screen is 10101, then the URL we need to open as shown below will be http://54.186.191.130:10101/nifi. Now if the leader still has not yet started, then you may see a screen print which looks like the one below. If you do see the message as shown in the screen print below, then just wait a few minutes and try again.

Once the primary node has been selected and you open the nifi url described earlier, than you will see a screen resembling like the one below. 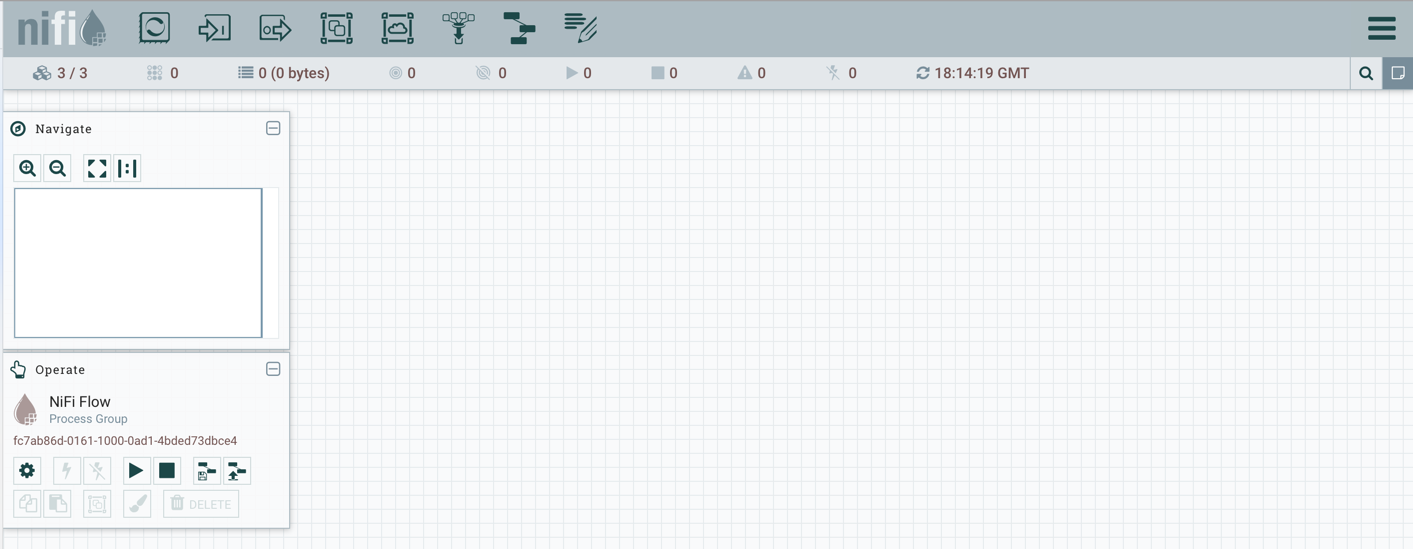
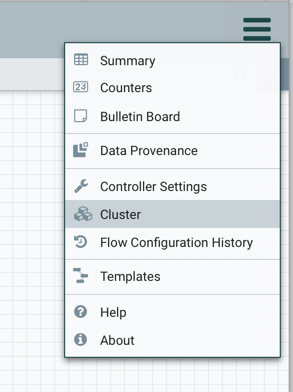
Take a quick moment to confirm that the cluster mode is properly engage by clicking on the menu bars on the right side of the screen and then click on the word cluster. If you do not see the word cluster, then go back and check the NiFi service configuration and confirm that you have in fact checked the 'cluster' option box.
Assuming cluster mode was properly set and that you specified 3 NiFi instances, then you will see a NiFI cluster definition as shown in the screen below.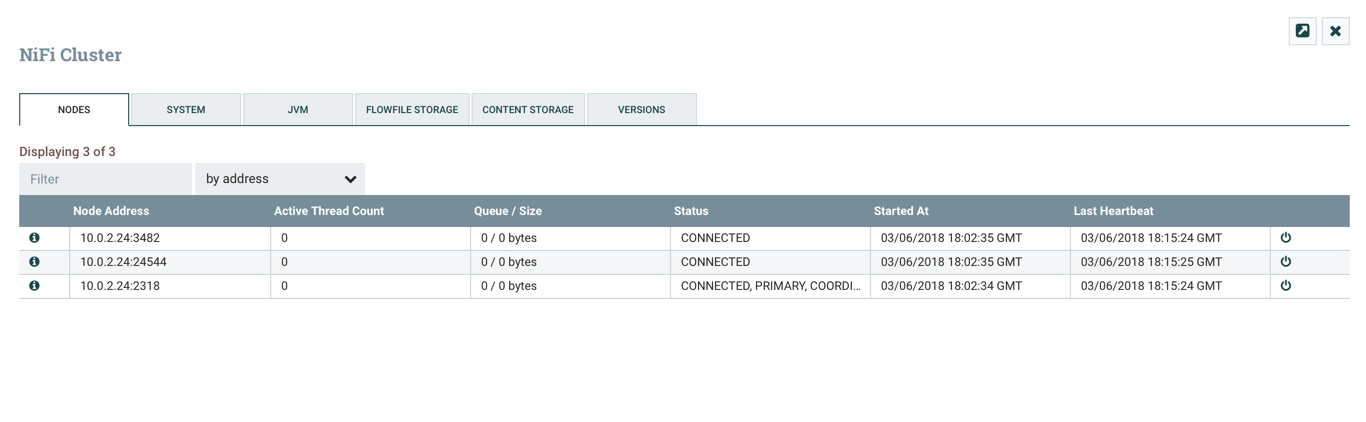
Congratulations your NiFi Cluster is installed and avaiable in cluster mode. Moving forward to Step 4 we will go through the steps to very that your custom processor is accessible to the NiFi workbench.
Step 4: Access your custom processor
In the first 3 steps, we updated the standard DC/OS NiFi framework image, installed it as a service and then validated that NiFi had installed as a cluster. Now our last and final step is to to validate the new custom processor is available in the Processor list. To accomplish this first we need to grab the processor highlighted icon from the top of the screen and drag it to the part of the workspace desired.
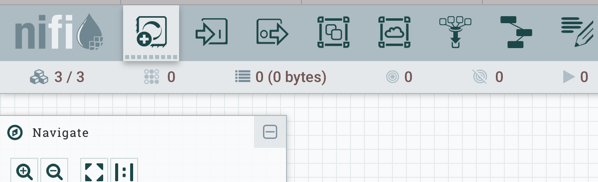
After dragging the processor icon to the desired location on the workspace, you will have the opportunity to enter the name of the customer processor in the search dialog in the upper right corner.
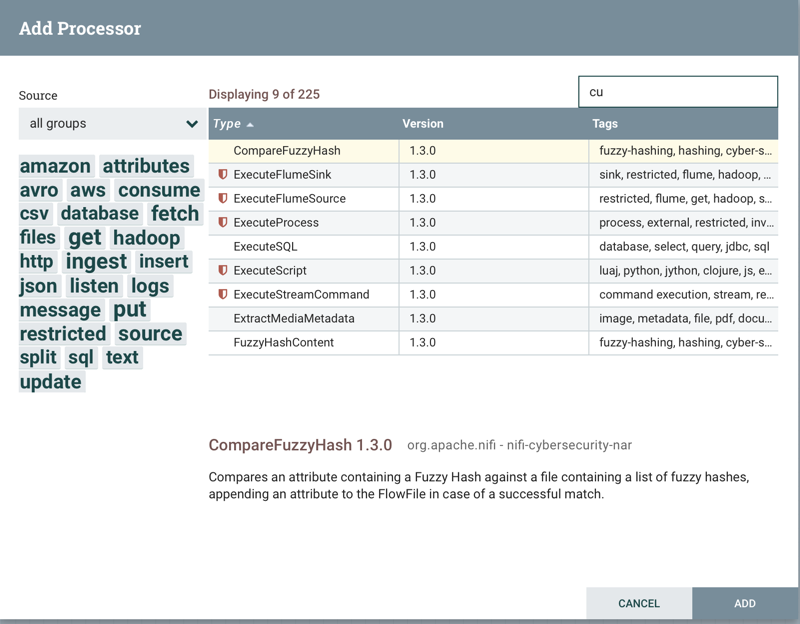
Once you have added your new custom NAR file to your NiFI instance you will see it on the workspace and have the option to update properties just as with any other processor.